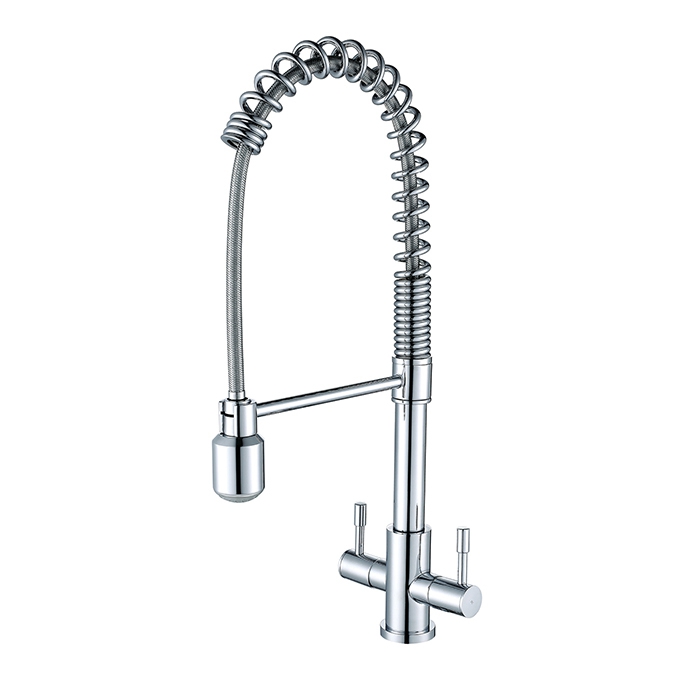
To make them last long and perform optimally, pull-out kitchen faucets need to be properly installed and maintained. Below is a comprehensive guide on installation and maintenance that can keep your faucet in good condition for many years.
Installation Guidelines
Gather All Needed Tools: Before you start the process of installing, have every required tool like pliers, adjustable wrench, plumber’s tape, basin wrench in place. This will make it easier and quicker.
Prepare the Sink Area: Clean up the sink area to remove any debris. Take off any old faucet or clean the sink surface thoroughly. Make sure that new faucet aligns with mounting holes.
Install Gasket and Mounting Plate: Place gasket and mounting plate on the sink’s mounting hole if provided. These elements help strengthen the faucet thus preventing water leakage.
Position Faucet: Hoses of the faucets along with its shank should be inserted through the hole made for them; this should be done carefully after ensuring that it is at the centre position as well as properly oriented before using a basin wrench to tighten the nuts supporting it from under.
Connect Water Supply Lines: The hot side as well as cold side have water supply lines which needs to be connected to their respective valves under a sink. Apply plumber’s tape on threads where necessary for tight seal against leakage then use adjustable wrench to ensure these connections are tight but not overtightening them.
Check Leaks: Turn on water supply after fitting faucets completely checking for leaks. Tighten where necessary, pull out hose must move freely inside and outside.

Maintenance Ideas
Regular Cleaning: You should clean your faucet regularly using mild soap and water so as to get rid of dirt or grime present there in order to maintain shiny appearance of it. It is important not use any abrasive cleaner or pads since they may scratch it instead consider vinegar diluted with water being an effective solution for tough stains.
Descaling the Aerator: With time, mineral deposits can build up in the aerator thereby affecting water flow. Use vinegar to soak it for a few hours after unscrewing from the faucet so as to remove the deposits before rinsing and replacing.
Examine Hose and Connections: Occasionally, check on the pull-out hose and see if there are any signs of wear or tear. The hose connections should be checked regularly to ensure that they are not leaking. In case, you need smooth performance you can purchase another hose.
Grease Moving Parts: If at all your faucet is becoming stiff in either handle or its pull-out hose, apply some plumber’s grease on these moving parts so as to allow for an easy operation by maintaining smoothness thereby prolonging its use.
Fix Damaged Seals: O-rings or seals inside faucets may start leaking due to wear over time. Change these when necessary in order to maintain a watertight seal. This is done by most manufacturers since they usually provide replacement parts
Check Corrosion: Regularly look out for corrosion signs of both taps and components especially if you have got hard water. It will damage your tap because water will keep on dripping. You can change those parts which are being damaged by corrosion immediately you notice them.
The durability and performance of pull-out kitchen faucets depend on proper installation as well as regular maintenance. By adhering strictly to the installation tips, you will place your faucet in the right position and prevent common malfunctions. To maintain them in good working condition, they should be cleaned regularly, descaling the aerator, check the hose and connections, lubricate moving parts of such a system, change old gaskets that look shabby, and inspect for any signs of corrosion. These guidelines should enable you benefit from many years of using one kind of a water tap as it adds value to your kitchenette.